
Computer setup
TIDAL on Windows or Mac
Install the official desktop app, select the right audio output, and confirm lossless playback settings.
Download links checked 23 September 2026Install TIDAL on Windows
These steps are for Windows 10 or newer. Keep this guide open while installing.
- 1
Download TIDAL for Windows
Click the button below. Your browser starts downloading TIDALSetup.exe. Wait until the download has completely finished before opening it.
Download TIDAL for Windows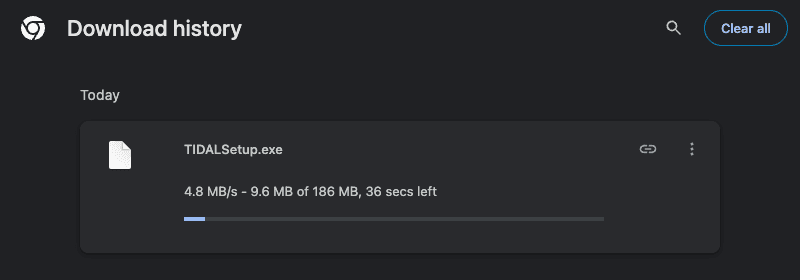
The official Windows installer is named TIDALSetup.exe.Screenshot: Official TIDAL installer - 2
Open the downloaded file
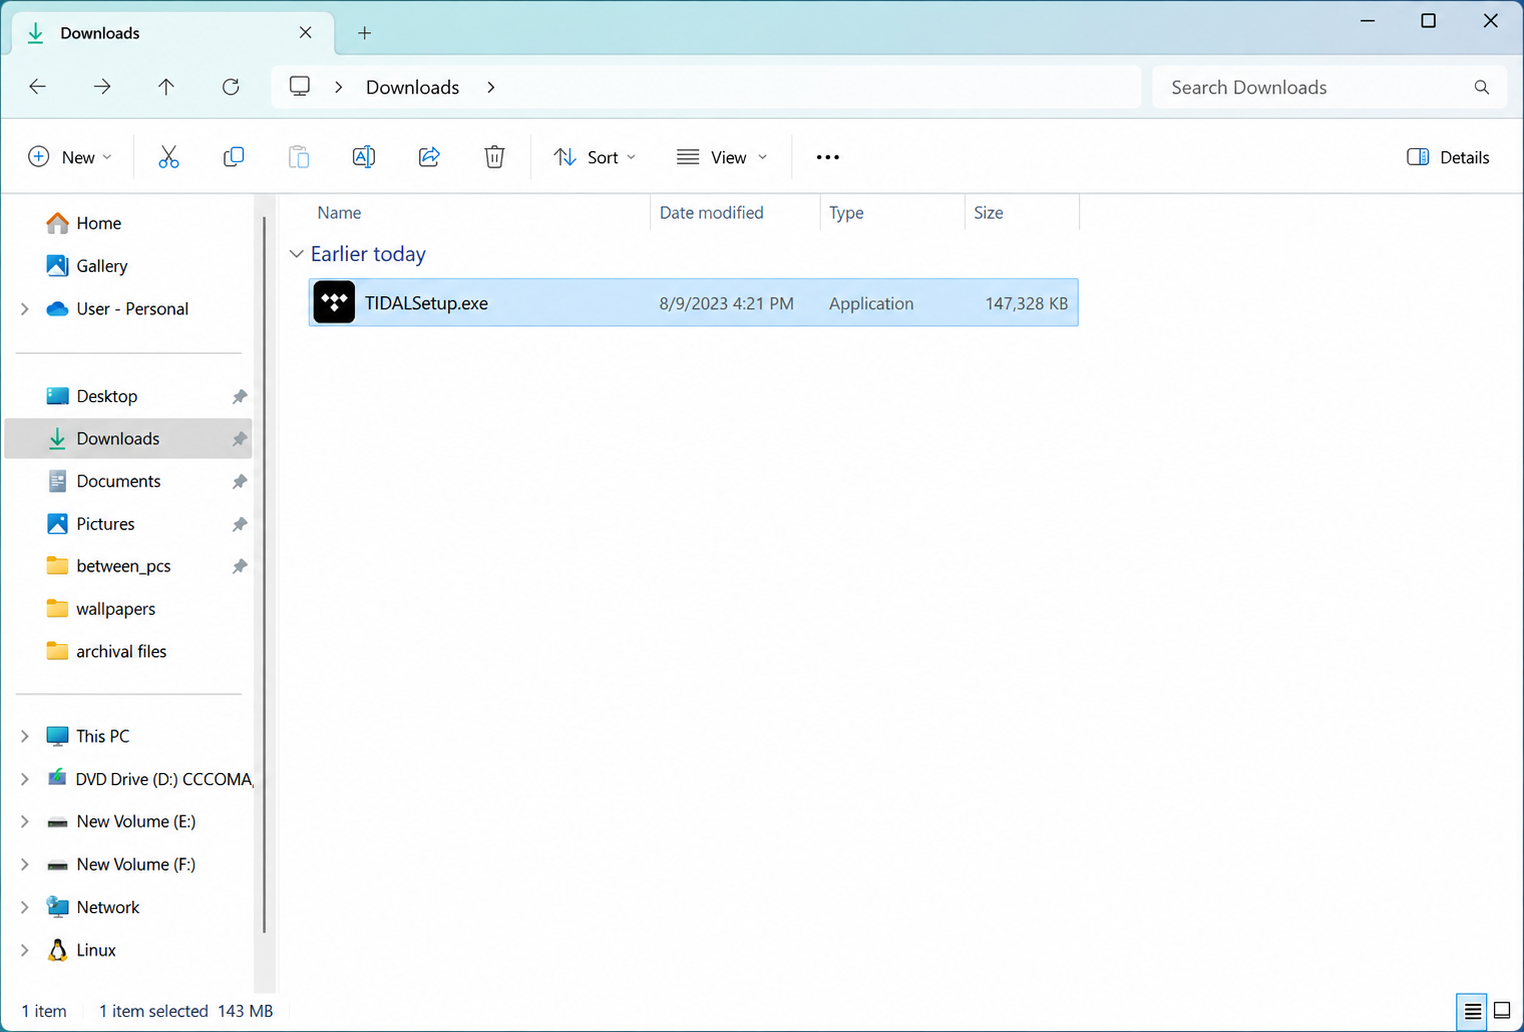
Click TIDALSetup.exe in your browser's downloads. If you cannot see it there, open File Explorer, choose Downloads, and double-click TIDALSetup.exe.
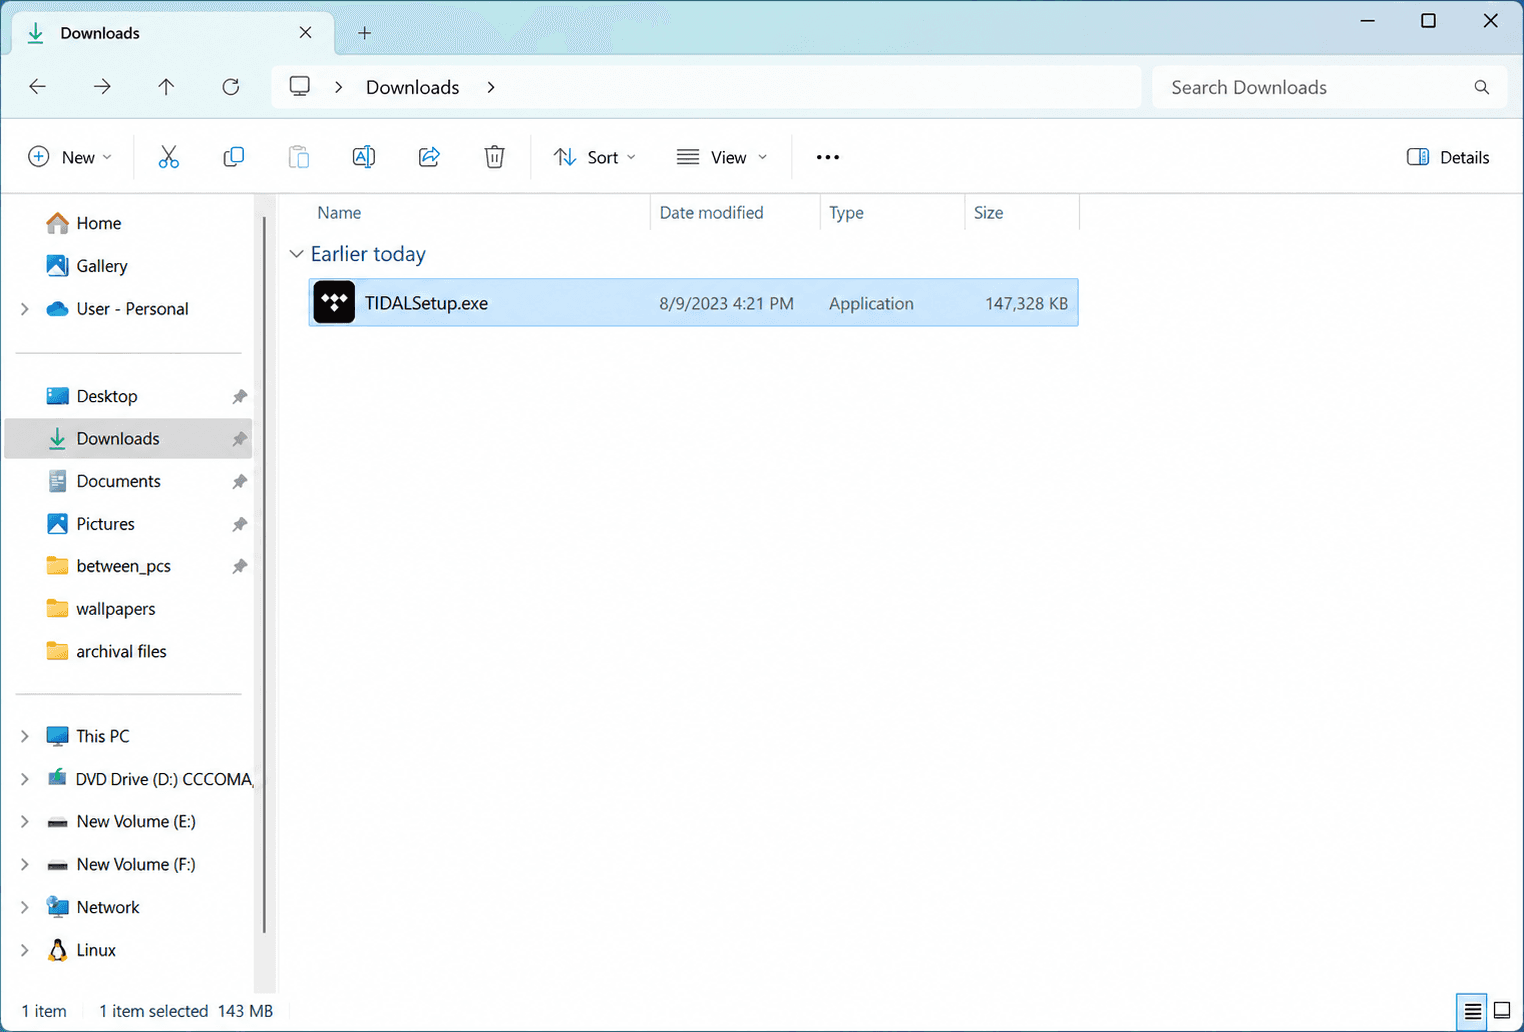
Open Downloads in File Explorer, then double-click the selected TIDALSetup.exe file. - 3
Allow Windows to install TIDAL
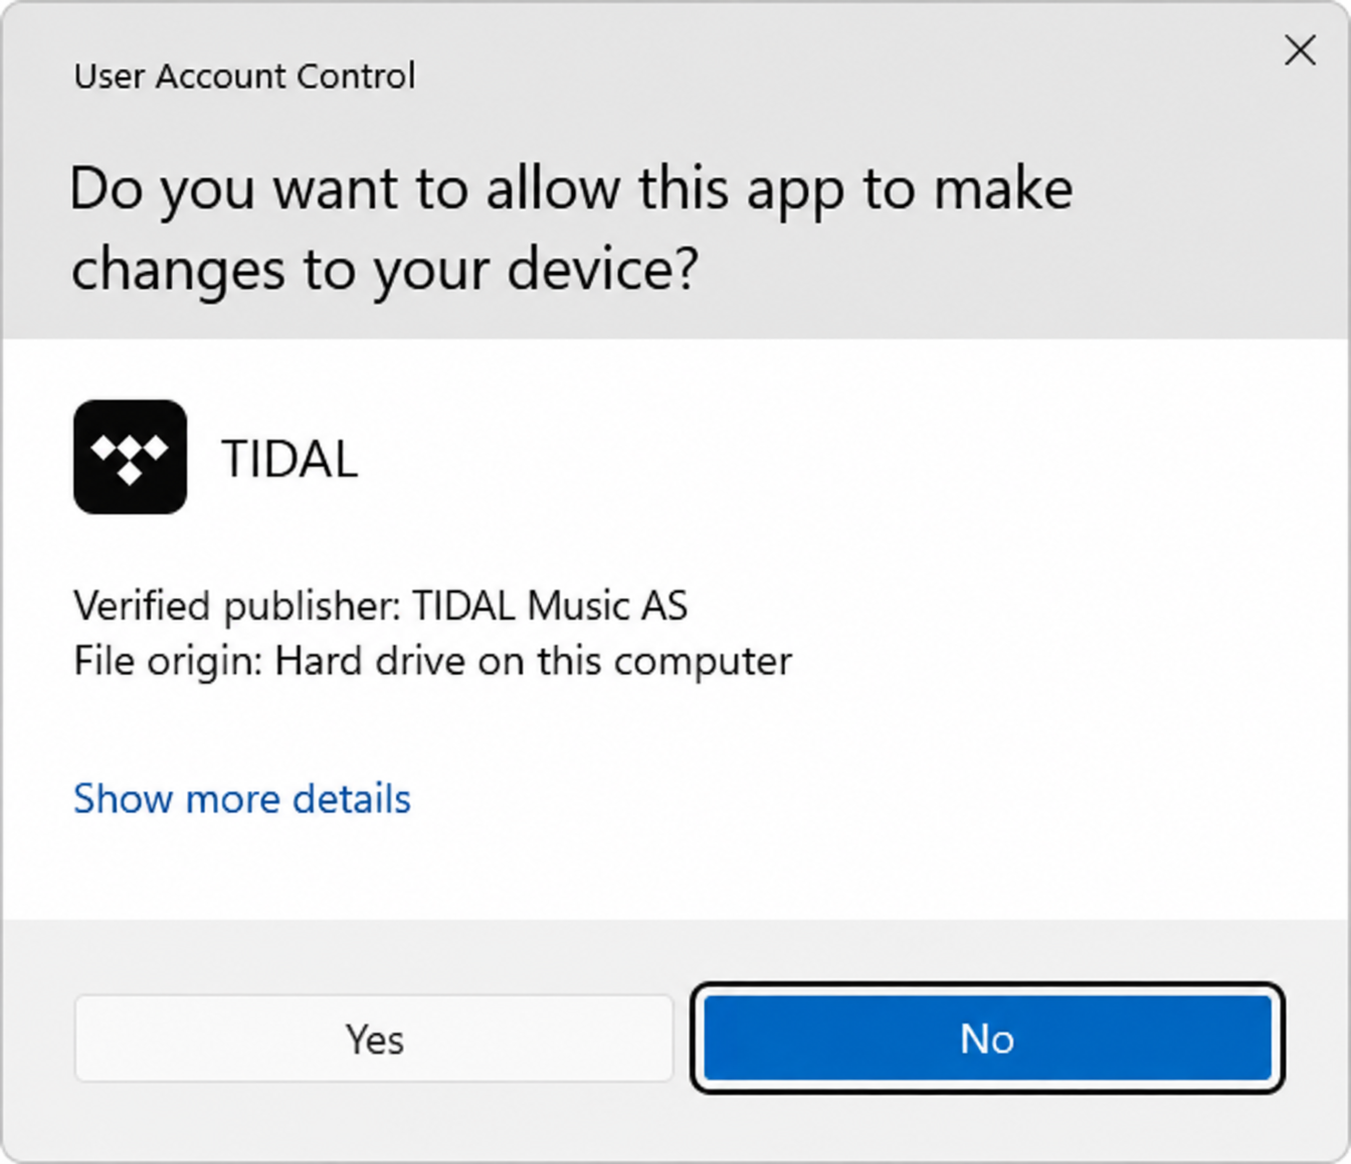
Windows may ask whether you want to allow the installer to make changes. Check that the prompt is for TIDAL and came from the file you just opened, then click Yes. TIDAL opens when installation finishes.
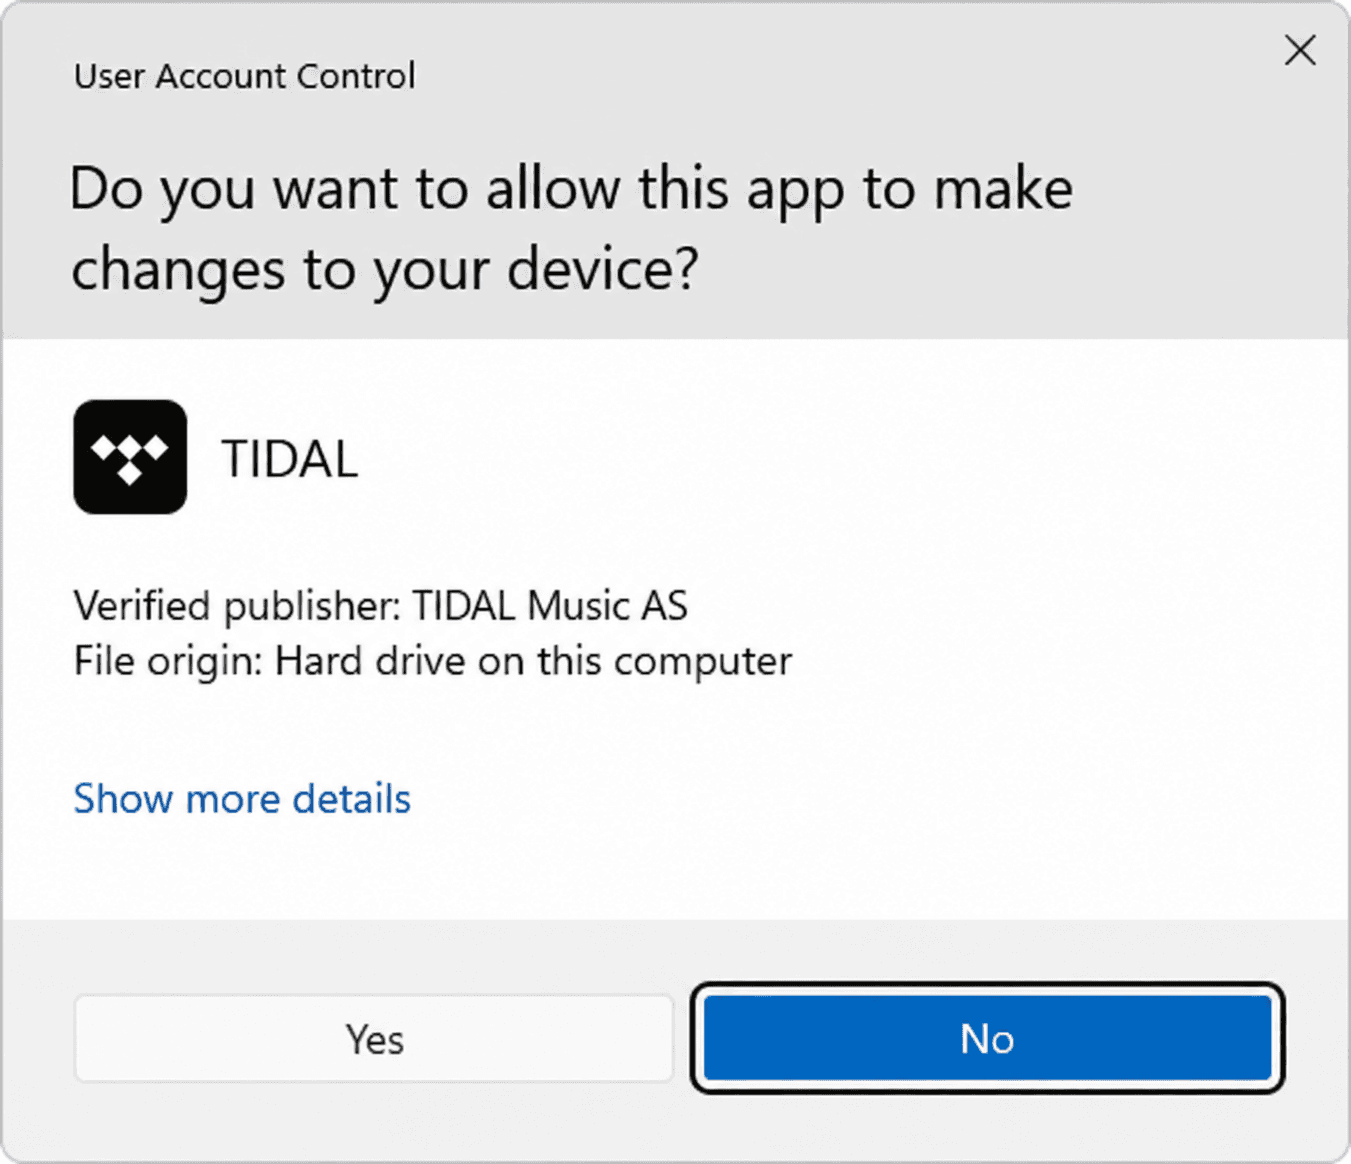
Your Windows prompt should identify TIDAL before you click Yes.
Install TIDAL on a Mac
These steps are for macOS 14 or newer. First identify the chip so you download the correct installer.
- 1
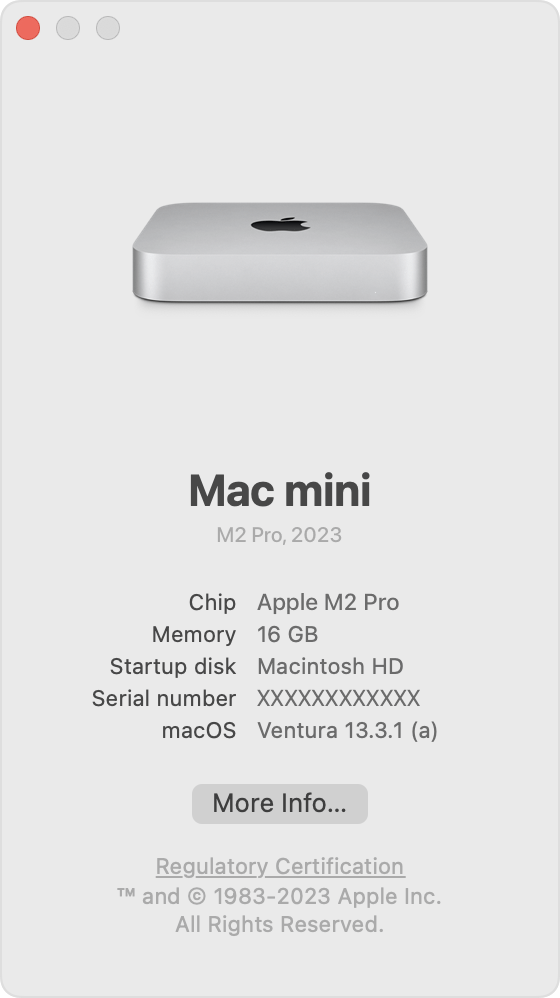
Check whether your Mac uses an Apple or Intel chip
Click the Apple menu at the top-left of the screen, then About This Mac. If the window says Chip: Apple M1, M2, M3, M4, or newer, choose Apple chip. If it says Processor: Intel, choose Intel chip.
Open Apple's chip-identification help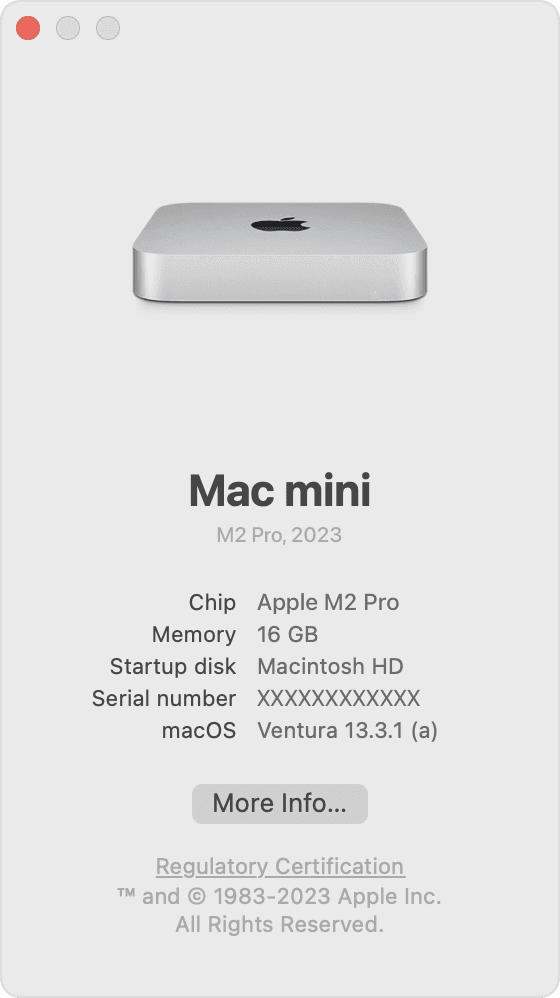
Read the Chip or Processor line in About This Mac before choosing a download.Screenshot: Apple Support - 2
Download the matching Mac installer
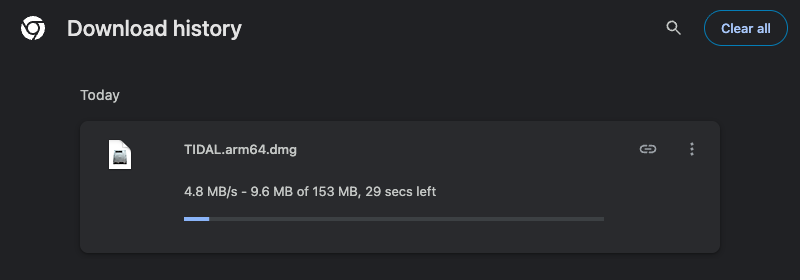
Open the official download page. Choose macOS Apple Silicon when About This Mac showed an Apple M-series chip, or macOS Intel when it showed an Intel processor. Wait for the .dmg file to finish downloading.
Open the official TIDAL download page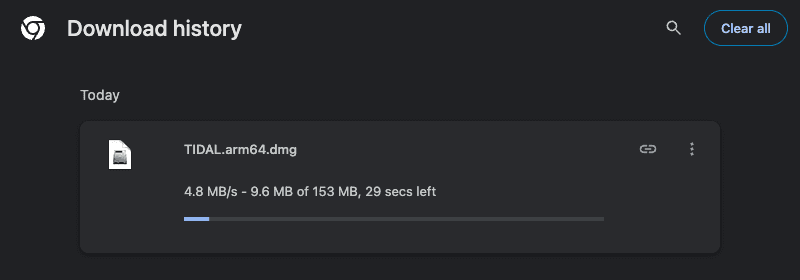
The Apple-chip download is TIDAL.arm64.dmg. Intel Macs use TIDAL.x64.dmg instead.Screenshot: Official TIDAL download page - 3
Move TIDAL into Applications
Open the downloaded .dmg file. In the small window that appears, drag the TIDAL icon onto the Applications folder. Then open Applications and double-click TIDAL.
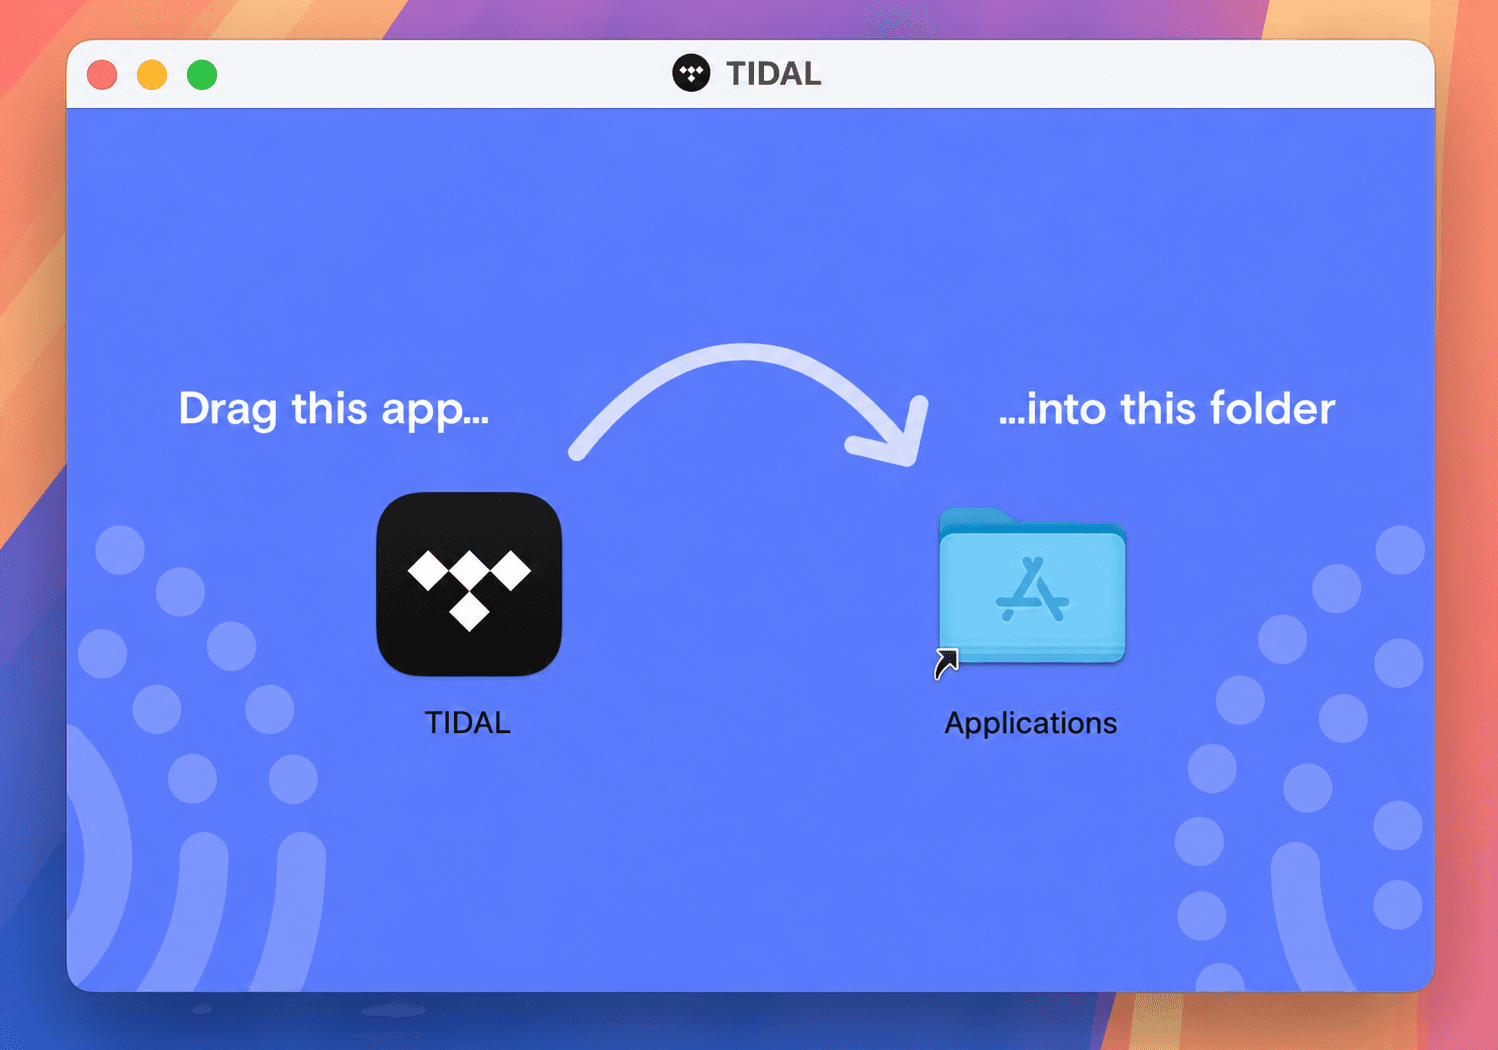
Drag TIDAL onto Applications. This screen is based on a real macOS drag-to-Applications installer window.Screenshot: macOS drag-to-Applications example
Sign in to TIDAL
- 1
Choose Log in and use your TIDAL details
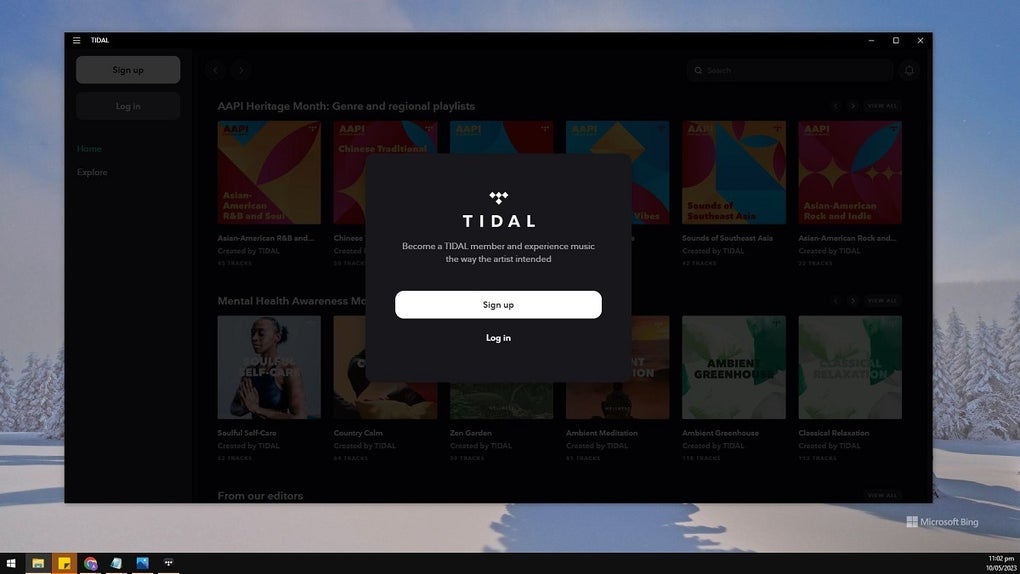
Choose Log in, not Sign up. Open your AudiophileStream account, reveal the TIDAL email and password, and enter them exactly as shown. TIDAL may continue the sign-in in your web browser; that is normal.
Open your AudiophileStream account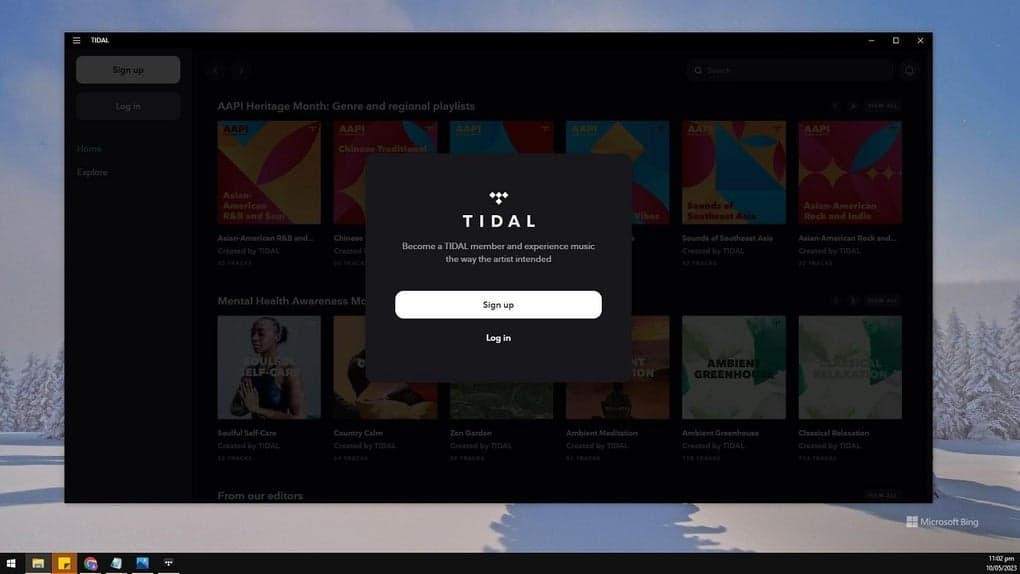
Choose Log in. Do not create a new TIDAL account.Screenshot: TIDAL desktop sign-in screen
Choose your sound output
- 1
Test playback, then select your DAC
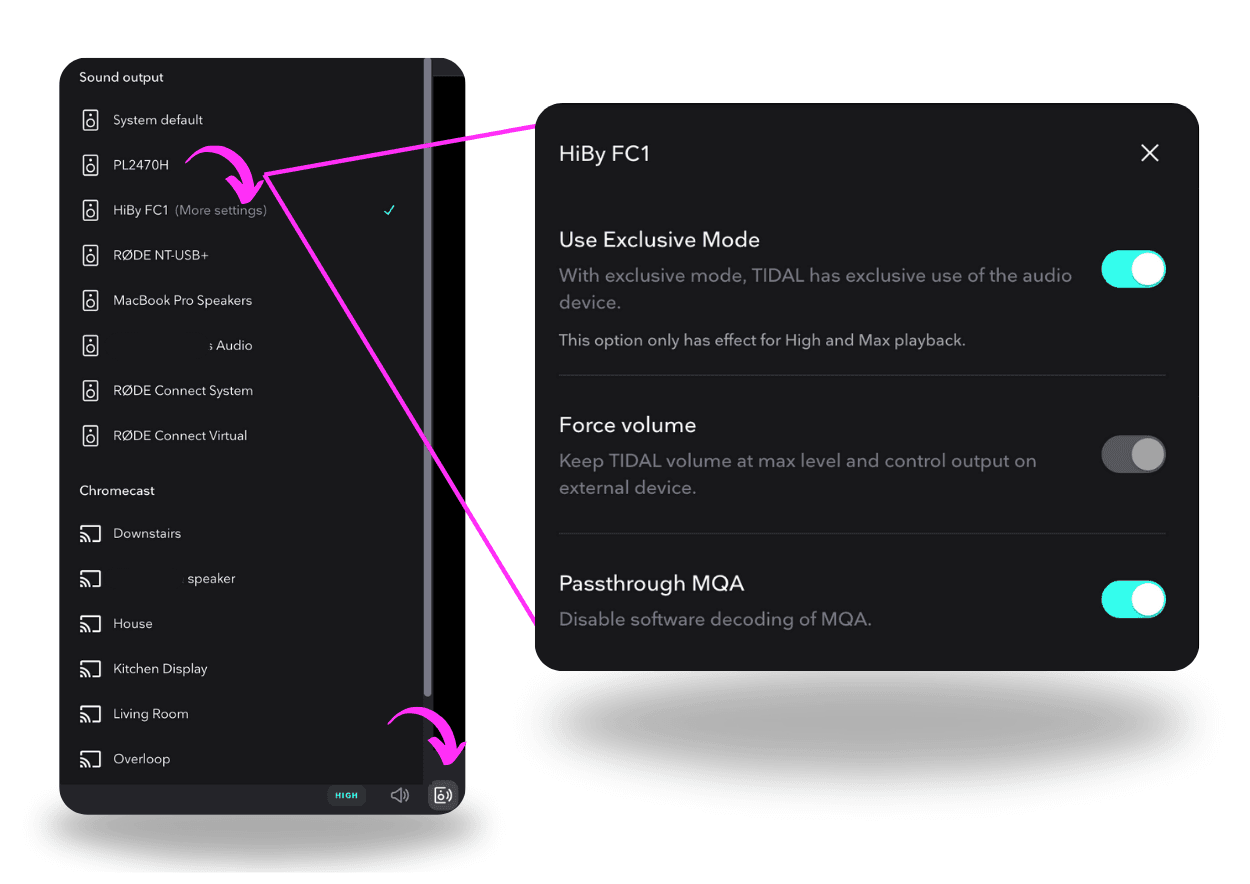
Play one track through the computer speakers first. Then open TIDAL's sound-output menu and choose your DAC or audio system. Set audio quality to High or Max as appropriate. Enable Exclusive mode only after the correct output is selected.
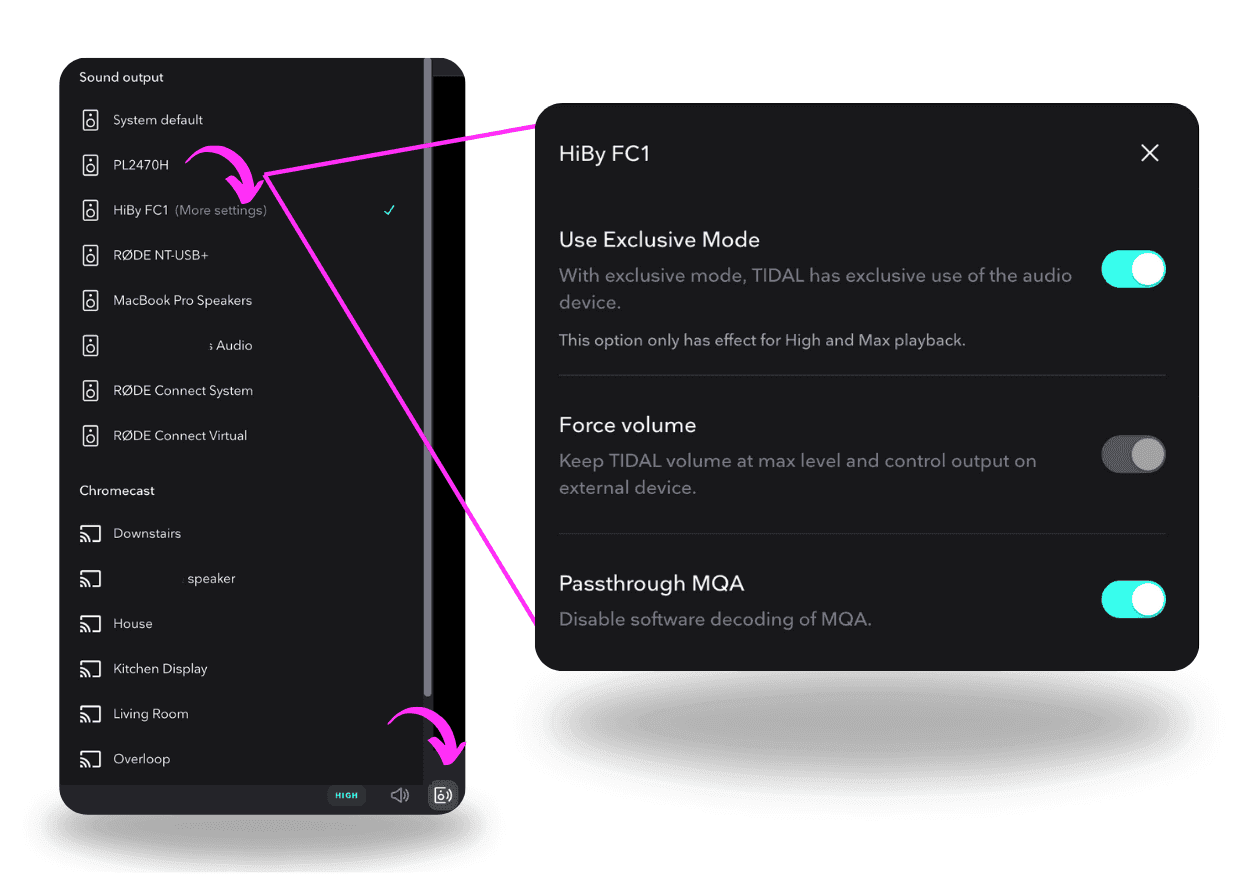
Select the intended output device first. Exclusive mode is optional and can prevent other apps from using that device.Screenshot: TIDAL output-settings example
If something does not match
- 1
If Windows blocks the installer, confirm that its filename is TIDALSetup.exe and that it came from the official link in this guide.
- 2
If macOS says the app cannot run, confirm that you chose the installer matching Apple chip or Intel and that the Mac runs macOS 14 or newer.
- 3
If there is no sound after selecting a DAC, return to the normal system output, play a track, and then select the DAC again without Exclusive mode.
Downloads and official help
Open the exact resources referenced in this guide.